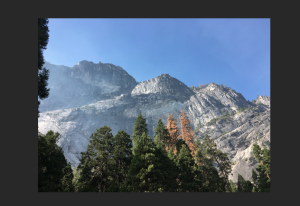
II have always loved photography and it is part of the reason that I did a degree and then a masters in Digital Media Production. My favourite module through my whole university career was Applied Photography. Therefore I thought i'd share a few basics for photo editing. The below photo I took at a county park near me with a Nikon D3100 DSLR camera with the kit lens.
The first thing I do is always resize the image, this would either be for a blog or social media there for 4000 pixels is way too large so I half it.

This makes the image a more manageable size and also helps Photoshop run faster as it doesn't have so much data to deal with. Next I edit the Hue/ Saturation, I like my images to be fairly vibrant so I up the saturation but don't touch anything else. (the short cut on a Mac is command U)

Next I edit the brightness and contrast, again I like bold colours and lightness so both go up for my image.
At this stage I decide to crop the image, one side is bordered with a tree which to me makes the image feel a bit closed, draws the eye away from what I want to focus to be on (the mountains)
A vital tool for any photo edit is sharpness, this can be done with a sharpness tool or a filter, I always apply a filter so the whole image is sharpened.

I then go in by hand to add more to the areas I want. For this image I sharpened the edges of the mountain
Next is the dodge and burn tool, dodge is for lightning and burn is for darkening areas. I wanted this image to have a mysterious look as the mountains are so looming so I used the area of the image that was already lightened by the sun coming in from that side. I increased this lightness as you can see below
I then applied the dodge tool to the trees and across the face of the mountain to make them darker and more imposing.


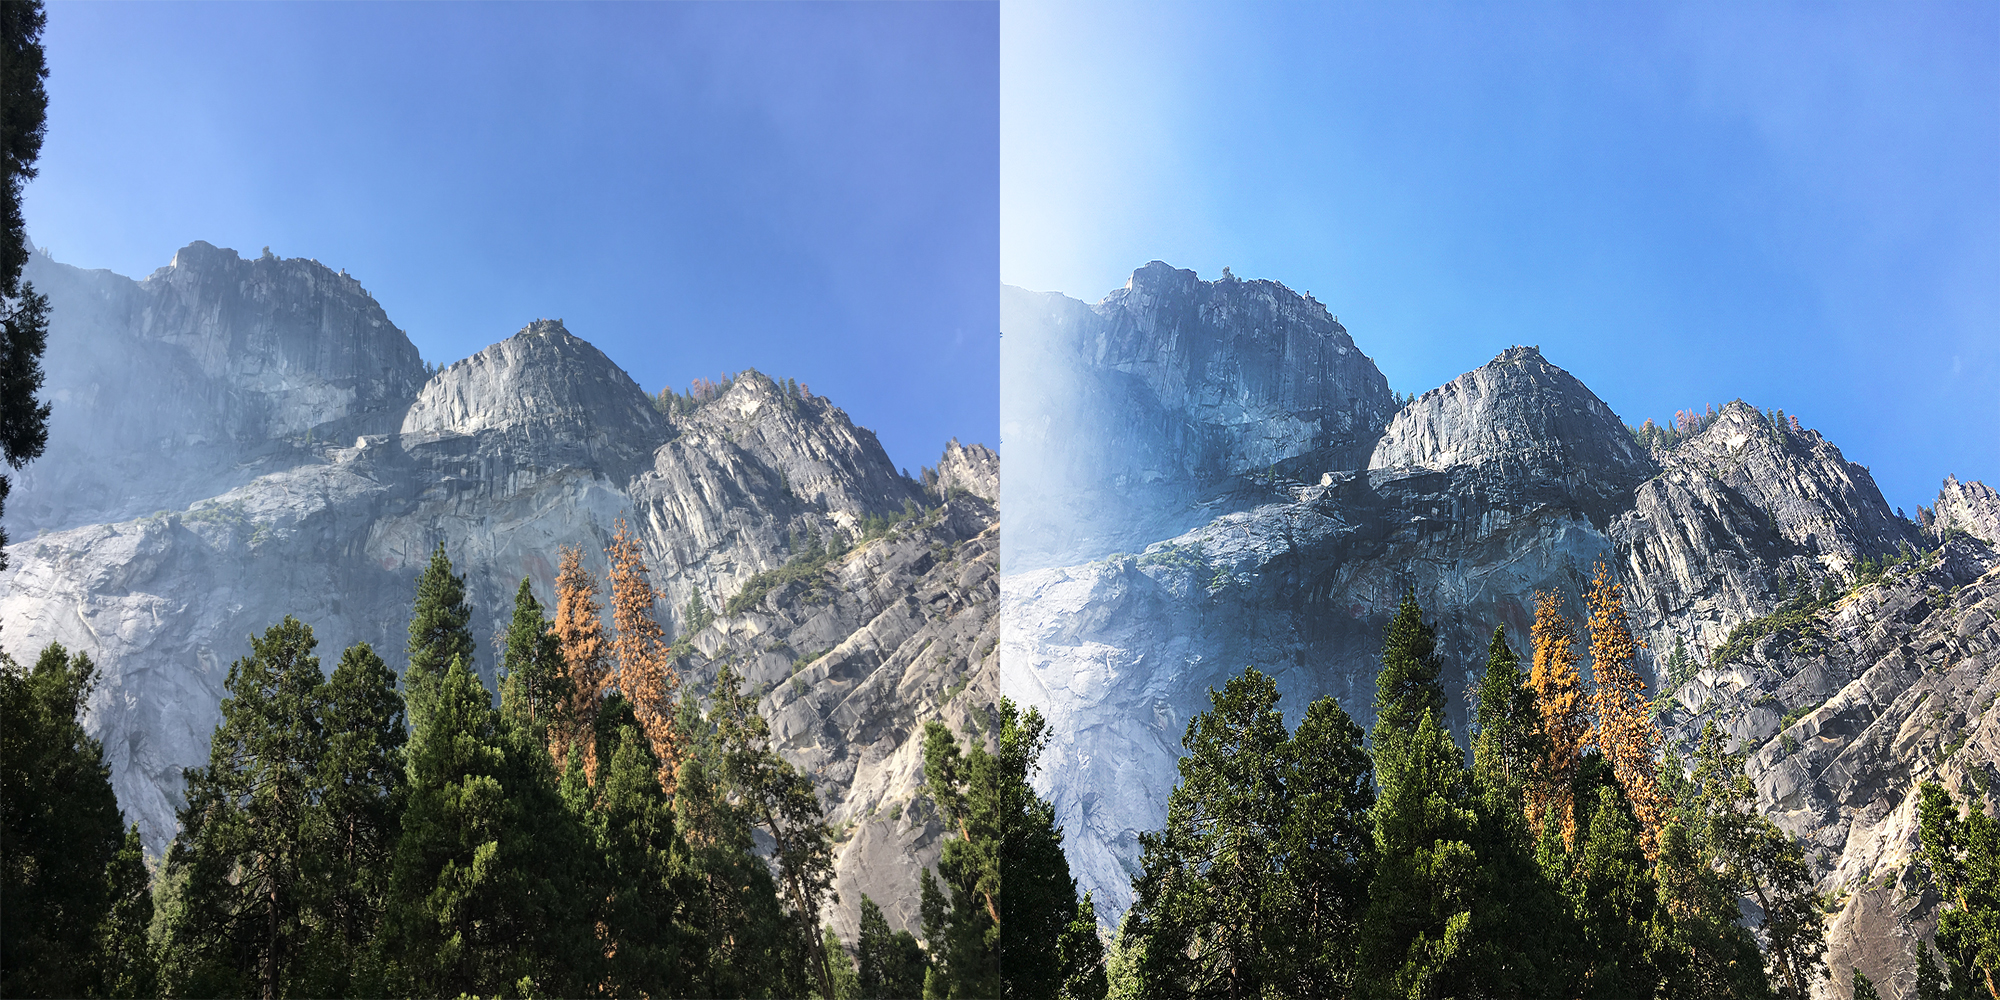
Below is a side by side view of the before and after.

Much improved i'd say, and it only took 10 minutes. Do you use any of the same methods as me?


No comments:
Post a Comment